From Zero to Robo-Hero: The Chill Journey of Motor Control with VHDL 🤖
I share how I spiced up learning VHDL by programming a DC motor to hold a specific angle using an Altera DE0 Nano board, creating a playful yet complex system of control and feedback with a PID controller
Hey there fellow tech enthusiasts!
So, I took the plunge and bought myself an Altera DE0 Nano board off the web. Why? To delve deep into VHDL hardware description language, of course! But why settle for just the bookish examples, right? I mean, where’s the fun in that?
Seeking to make the VHDL journey a tad more exciting, I set myself a “yeah-right-that’s-impossible” goal from a couple of years back. The dream? Making a DC motor stay put at a specific angle and getting it to dance to the tunes of set command angles. After all, every childhood dream of building my own humanoid robot had to start somewhere, and this seemed like a foundational step in the great robotic odyssey.
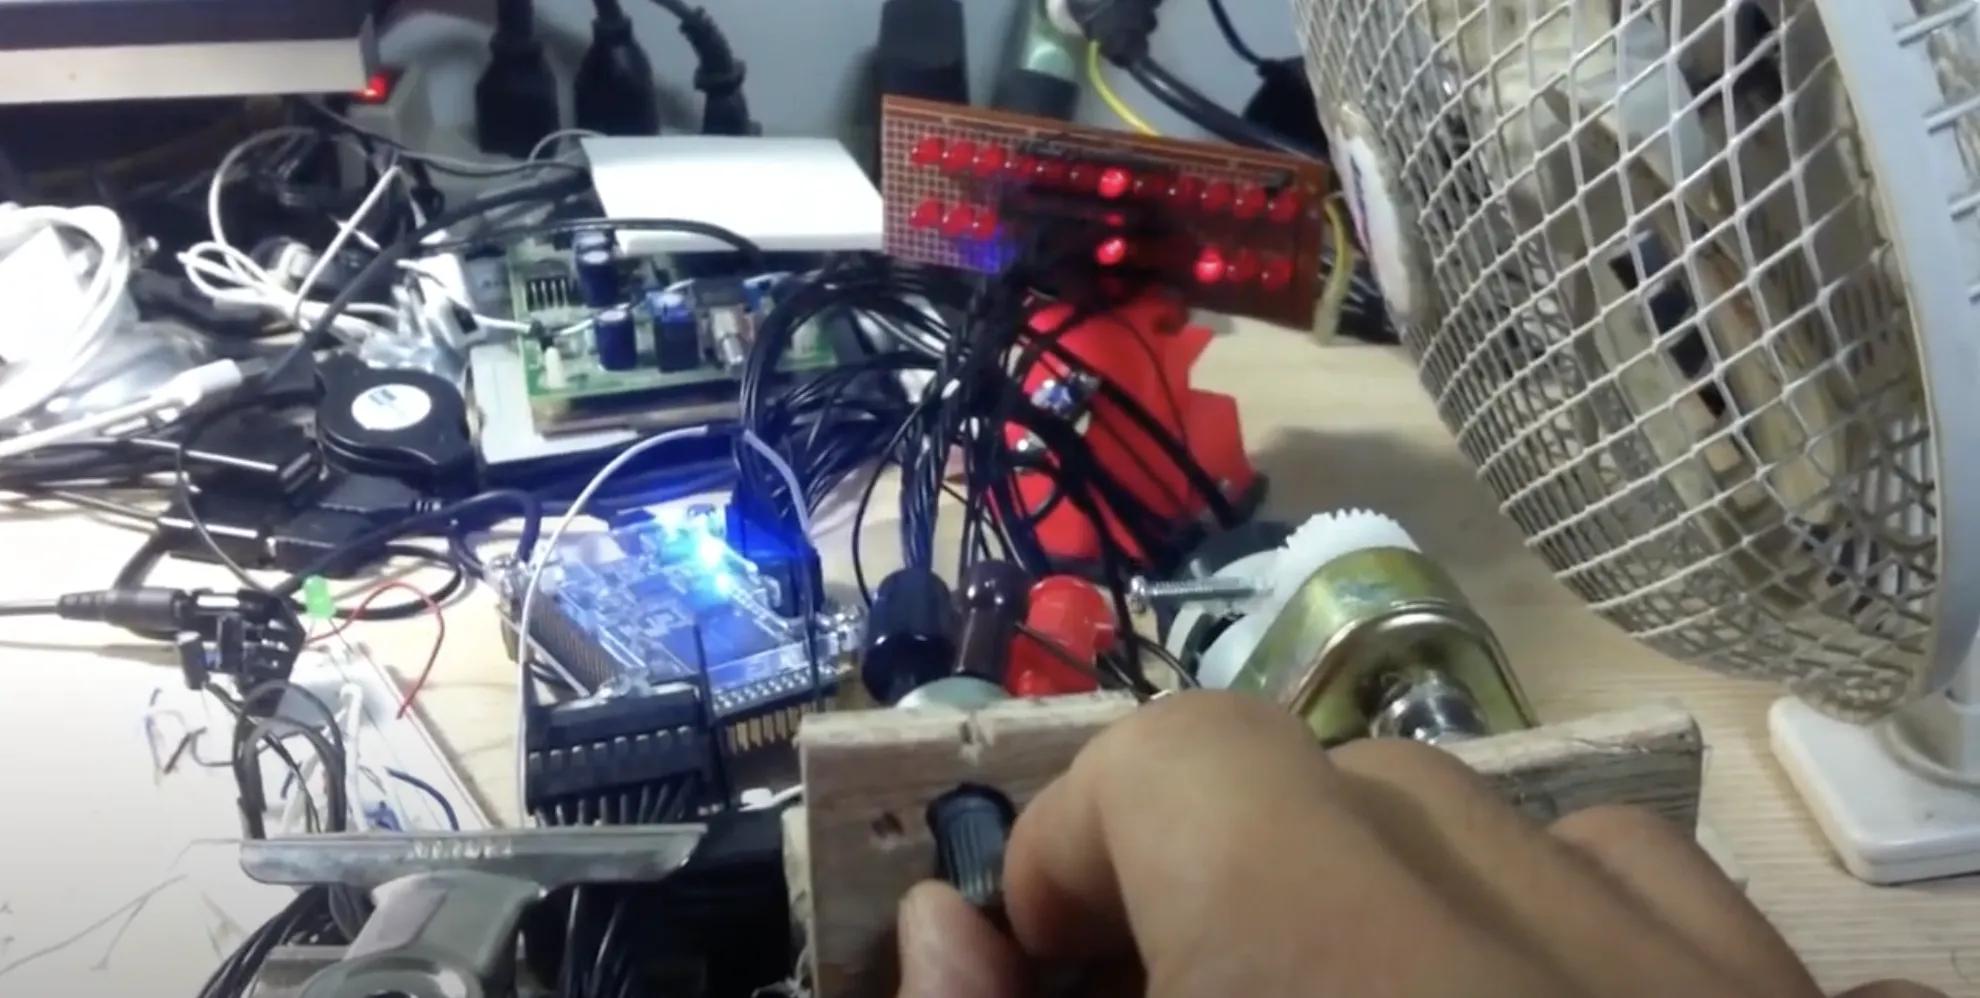
But first, let’s talk setup. I rigged a DC motor and used a potentiometer as an angle feedback system. Added another potentiometer to send command angle data. Oh, and did I mention the fun part? I soldered two rows of 12 LEDs each as a display for ADC info – one row for command data, the other for motor feedback.
The real game began with writing the VHDL code for the 12-bit ADC IC’s SPI protocol on the DE0 nano board. Trust me, scouring through that ADC’s datasheet felt like decoding an ancient tech scripture. But with Modelsim simulation software by my side, I verified my SPI protocol writing chops. And then? The pièce de résistance: crafting a PID controller. This beauty dynamically generates PWMs with varying duty cycles based on command and feedback data, letting the motor do its little voltage-adjusting dance, achieving that “stay-put” magic at a specific angle.
Who said VHDL had to be all work and no play? 😉
Happy crafting, folks! If you’re ever intrigued by the world of VHDL and robotics, remember - every bit of effort takes you one step closer to that dream robot!

